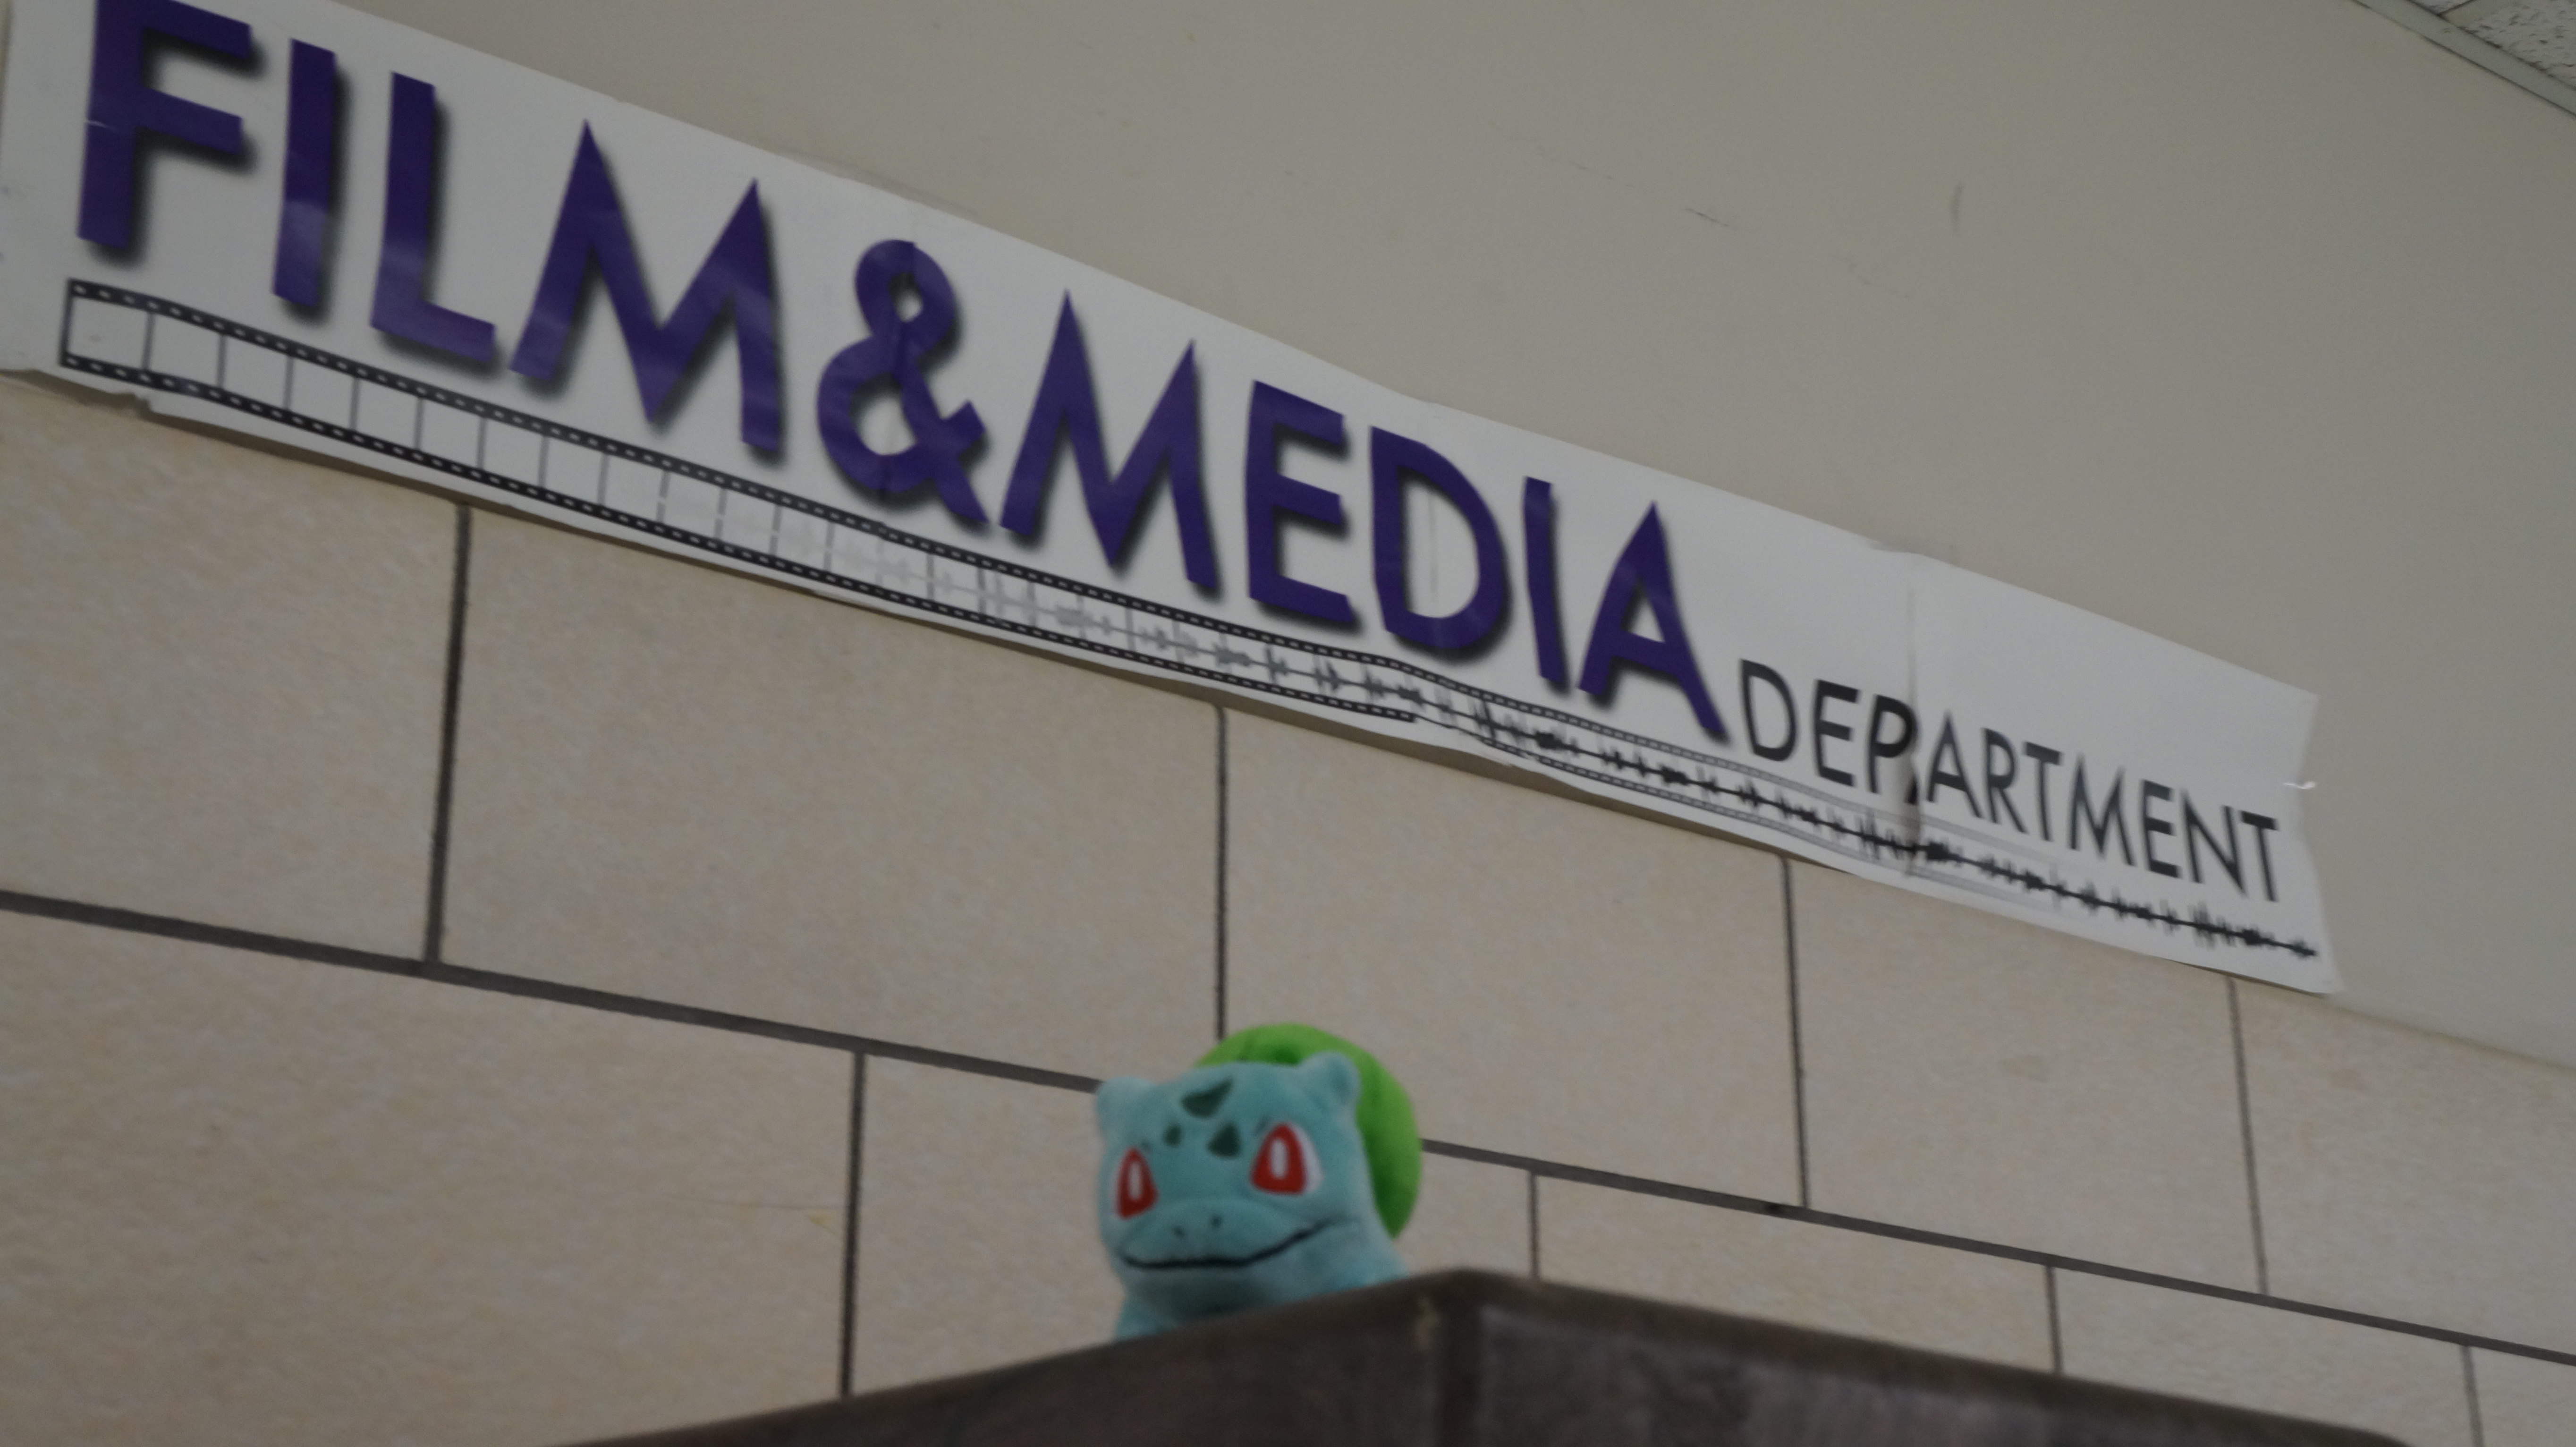
Original Image

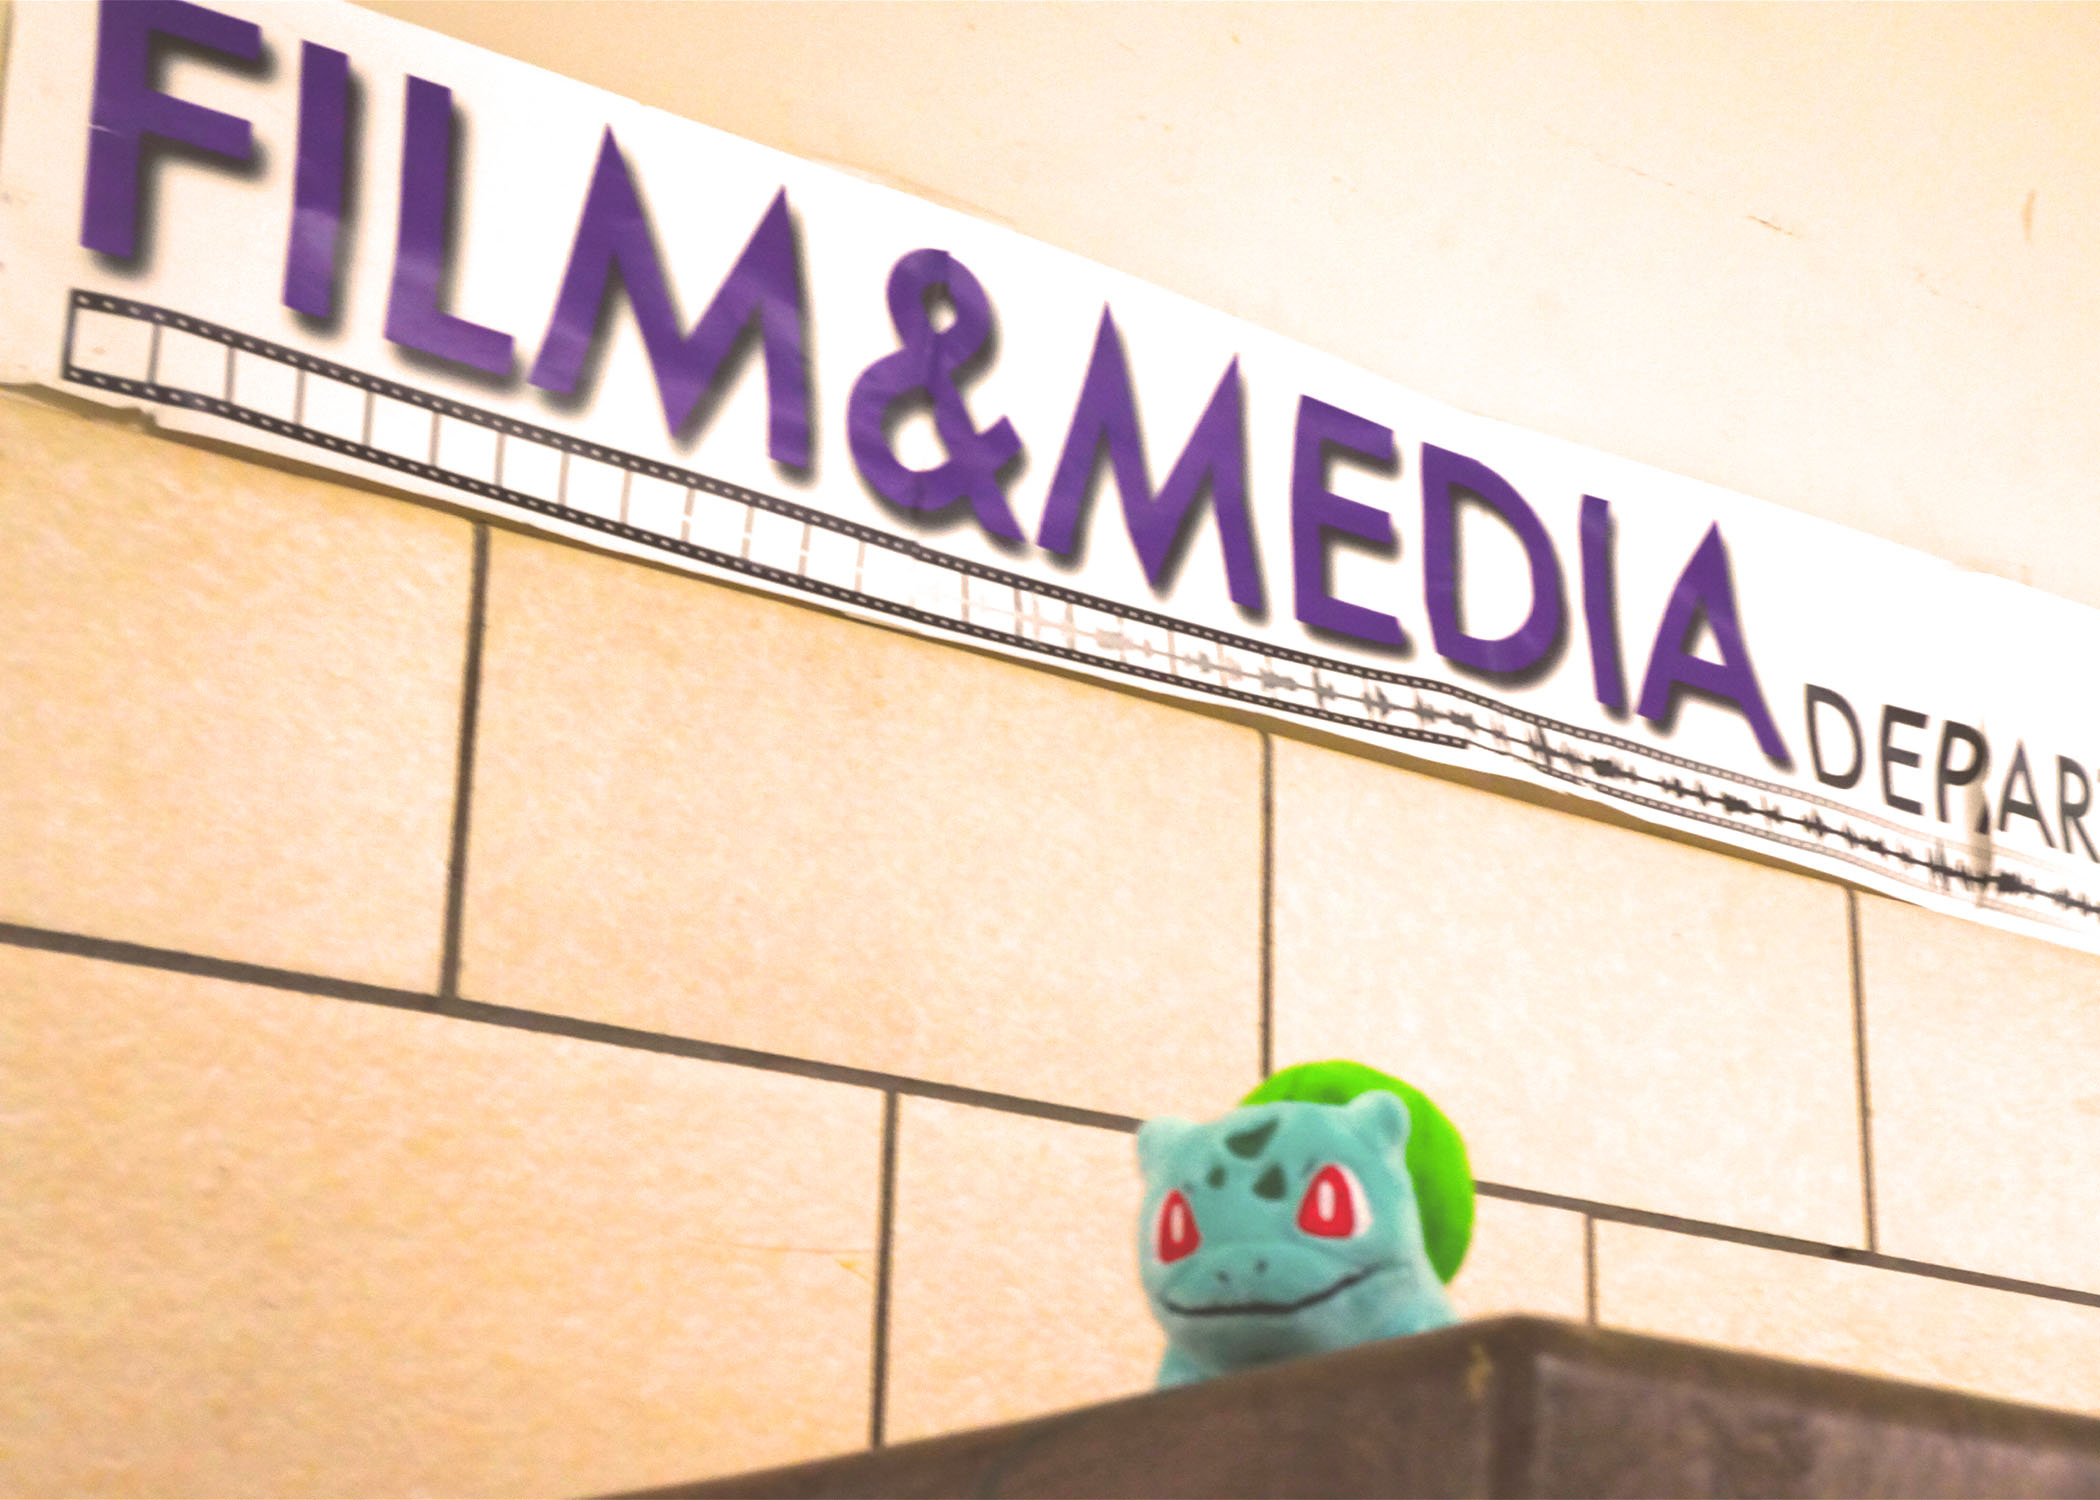
Edited Image
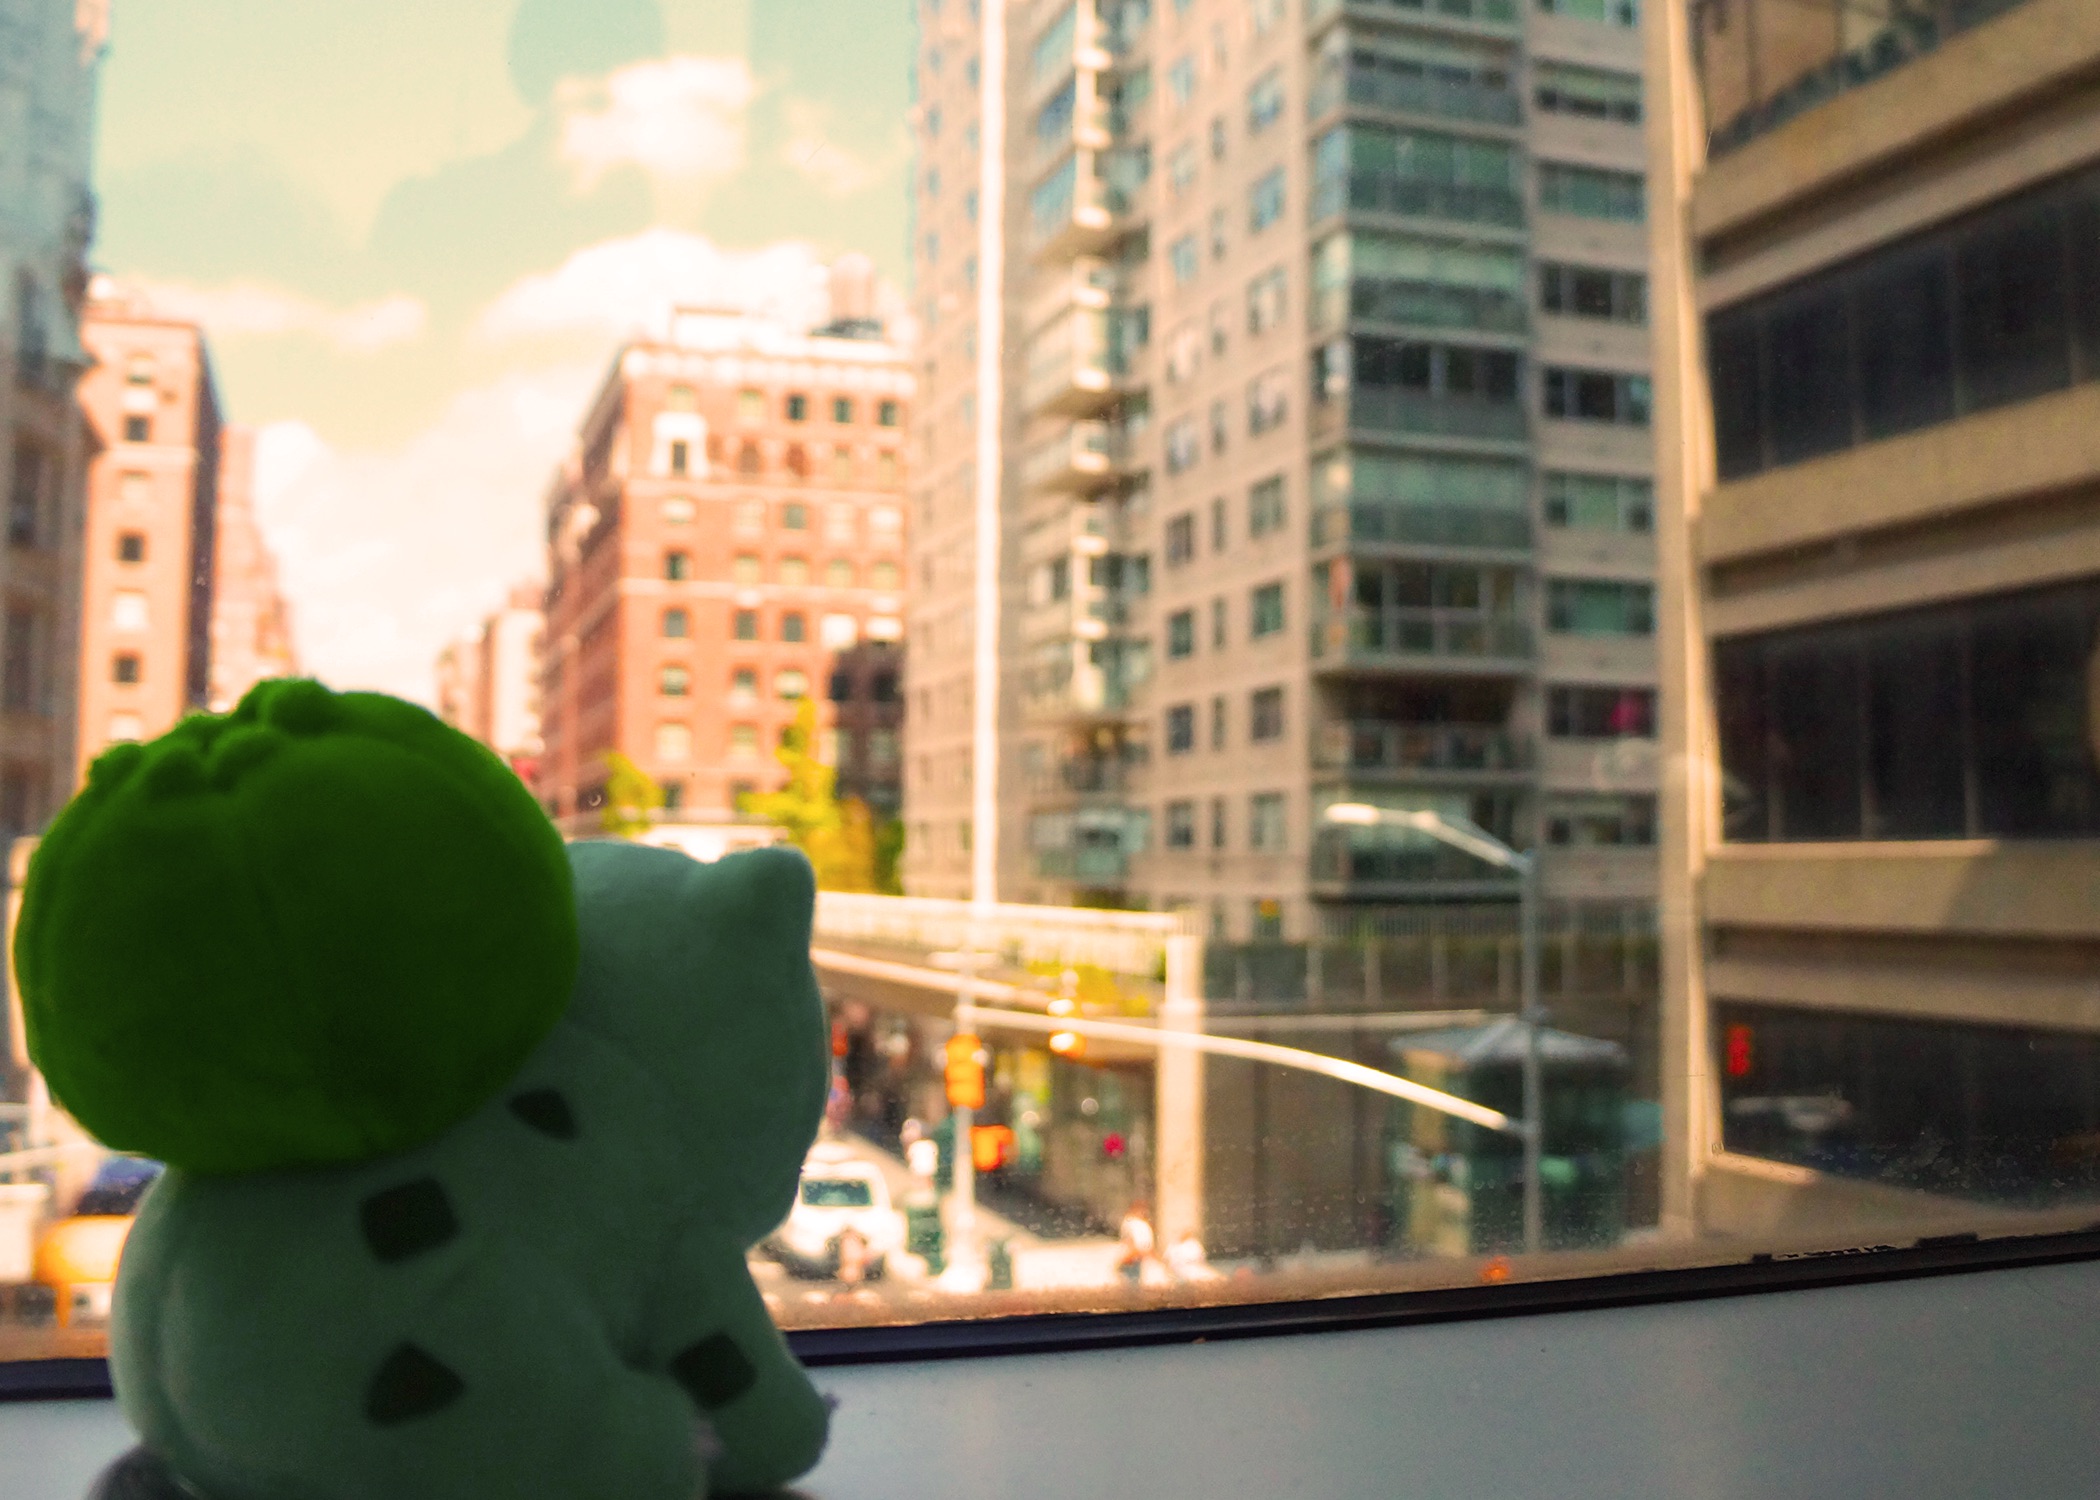
It's not my first time practicing with layer modes and filters as I also use them often in my digital art. For the first image, I wanted enhance the color and move my subject bulbasaur more to the left lower corner of the image to give a feeling he is looking cityscape, the first thing I did was adjusting the saturation cause it felt too moody with me with colors being too dull, then I went over the image with a brightnes layer to make everything more clear with a last vibrace layer. The final touuch was a photo filter with a warm light I was going with a warm feeling like if my subject were looking at the horizon.
As for the second photo, my little Bulbasaur participates again, now posing before the media department. For the composition, I used the rule of thirds, placing my subject on the right third of the photo from a low point to make him look as if he were peeking to get a look at the photographer. I just limited myself to threr layers when working with his saturation so the colors of the logo and my subject pop more, exposure to make everything clearer and brighter, and a final warm filter layer to make the scene look warmer. Taking photos around the campus is more fun than I expected. On another opportunity, I plan on bringing other subjects from my plush collection.
Back to Home